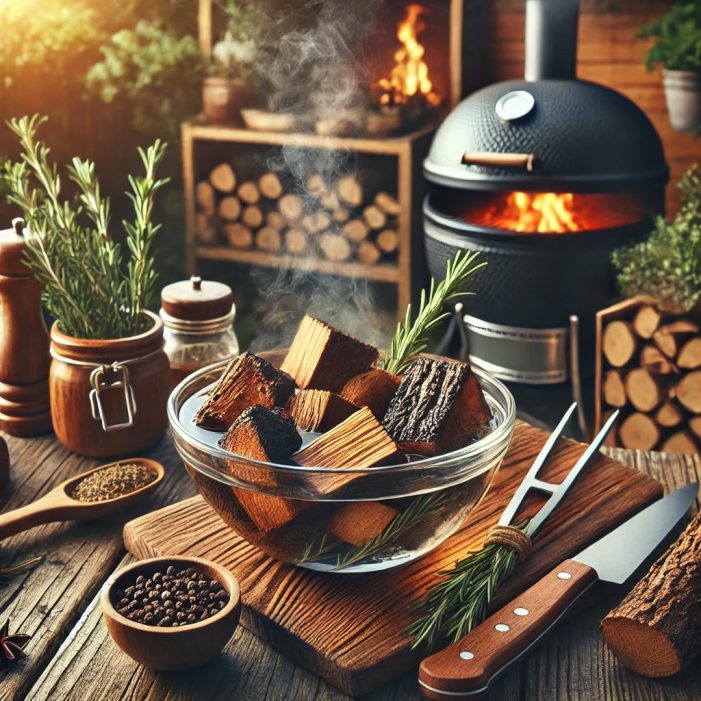
BBQ aficionados are no strangers to the art of overcomplication. From reverse-searing Wagyu brisket to engineering backyard smokers that rival NASA tech, we’ve long embraced the philosophy that harder = better. But what if I told you there was an untapped frontier of absurdity waiting to be explored? A world where the wood itself—yes, the wood—becomes the star of the show. Welcome to the pioneering art of wet-aging smoke wood for BBQ. It’s bold. It’s unnecessary. And it’s exactly the kind of culinary elitism the world deserves.
What Exactly Is Wet Aging, and Why Should You Care?
For the uninitiated, wet aging is traditionally a meat-centric process. By vacuum-sealing a cut of beef and allowing it to tenderize in its own juices, you unlock a symphony of rich, beefy flavors that dry aging can’t touch. Naturally, the question arose: if wet aging works for meat, why not apply the same principle to the wood that infuses said meat with flavor? After all, BBQ is about layers—layers of smoke, layers of flavor, and layers of unnecessary effort.
Step 1: Selecting the Perfect Wood
Choosing the right wood is the foundation of wet-aging success. For classic smoke flavors, you can’t go wrong with hickory, oak, or mesquite. But let’s face it, you’re not here for “classic.” You’re here to impress (and confuse) your friends.
Why not try cherrywood soaked in elderflower liqueur or pecan wood with notes of hazelnut? Better yet, source rare woods from distant lands—perhaps sandalwood from Bali or a sliver of Norwegian birch. The more obscure your wood, the more you’ll dominate the BBQ conversation.
Step 2: Crafting the Brine
The brine is where the magic happens. This isn’t just about softening the wood; it’s about infusing it with the kind of complex, nuanced flavors that scream, “I read about this in a magazine you’ve never heard of.” Here’s a foolproof recipe to get you started:
Ingredients:
- 2 cups spring water (tap water is for amateurs).
- 1 cup premium bourbon (the good stuff, not that bottle collecting dust in your liquor cabinet).
- 2 tablespoons Himalayan pink salt (crystals only; no powder—it’s about the aesthetics).
- A handful of orange peel, gently bruised for maximum aroma.
- A sprig of thyme or rosemary for that herbaceous je ne sais quoi.
Mix these ingredients in a glass bowl (never metal; we’re not savages). Submerge your wood chunks completely and let them soak for at least 72 hours. For best results, place the bowl on your kitchen counter beneath a strategically placed Edison bulb—it’ll help you feel fancy.
Step 3: Vacuum-Sealing Like a Pro
Once the brining phase is complete, pat your wood chunks dry with a towel (Egyptian cotton preferred) and transfer them to vacuum-seal bags. This is where the wet-aging magic truly begins. The vacuum seal locks in the brine, ensuring your wood matures in a controlled environment.
Pro tip: Invest in a high-end vacuum sealer, preferably one endorsed by a celebrity chef who’s mastered the art of pretension. This step isn’t just functional—it’s a status symbol. Once sealed, refrigerate the wood for 3-6 weeks. The longer it sits, the more its “character” develops.
Step 4: The Science Behind the Madness
Why does wet-aging wood work? Great question! No one really knows. Some theorists suggest the process enhances the wood’s ability to release flavorful smoke compounds. Others argue it’s just a way to impress your BBQ buddies. The truth lies somewhere in between, but let’s not dwell on science when there’s a perfectly good mystery to embrace.
Step 5: Testing Your Wet-Aged Masterpiece
The big day has arrived. Fire up your smoker and prepare to unleash the fruits of your labor. As your wet-aged wood begins to burn, pay close attention to the smoke—it should have a distinct, almost ethereal quality. Some might describe it as smoky with a hint of sophistication; others might call it “exactly the same as normal smoke.” Ignore the haters.
Pair your wet-aged smoke with complementary meats. For example:
- Bourbon-Brined Hickory pairs beautifully with ribs.
- Rosemary-Infused Cherrywood adds a delicate touch to lamb chops.
- Orange Peel Cedar works wonders with smoked chicken.
Serve your BBQ with a side of smug satisfaction, and don’t forget to remind everyone how much effort went into your wood-aging process.
Step 6: Bragging Rights (The Most Important Step)
Let’s be real—wet-aging smoke wood isn’t about the flavor; it’s about the story. Share your journey on Instagram, complete with artsy black-and-white photos of your brining setup. Drop phrases like “flavor profiles” and “aromatic depth” into casual conversation. Host a BBQ party and wait for someone to ask, “Why does this taste different?” That’s your cue to launch into a 15-minute monologue about the wet-aging process.
Final Thoughts: Is It Worth It?
In the grand tradition of BBQ, wet-aging smoke wood is as unnecessary as it is glorious. It’s not about whether it makes a noticeable difference—it’s about the dedication, the absurdity, and the chance to turn something simple into an art form.
So go ahead, embrace the madness. Wet age that wood. Smoke that meat. And remember: if nobody understands your process, you’re doing it right.


You must be logged in to post a comment Login